This is an old revision of the document!
Installing HEXChat for Windows
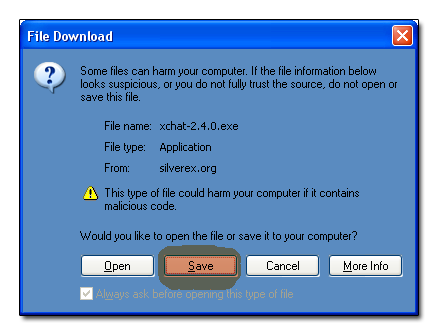
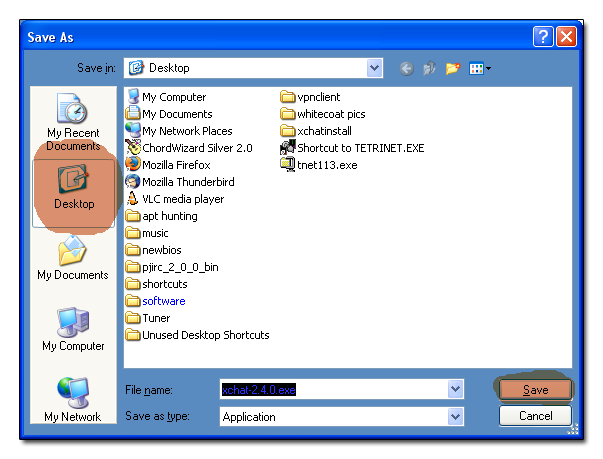
This guide will walk you through installing HEXChat, an open source IRC client you can use to connect to AfterNET First, download gtk-runtime-2.6.7-rev-a.exe and hexchat-2.4.3-3.exe and save them to your desktop:
Remember to download BOTH the GTK runtime and the HEXChat install files. When your done, find the two icons on your desktop. Mine looks like this:
Double click on the gtk2-runtime installer (the bottom one, above)
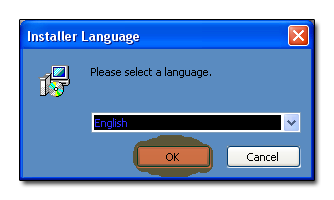
Select your language, and click OK
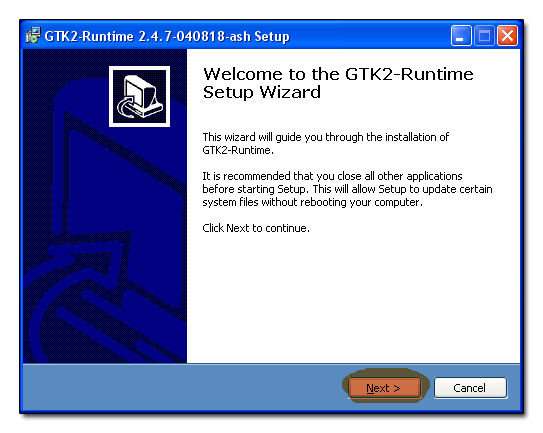
Select “Next”
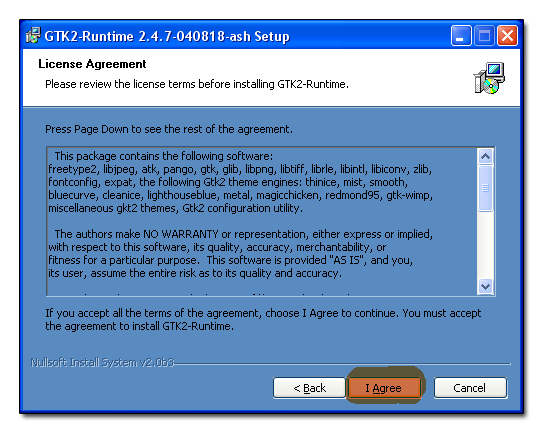
Skim the license, and click “I Agree”
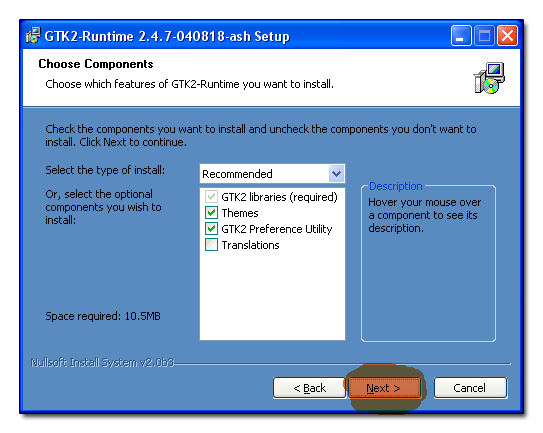
The default components are fine, so click Next
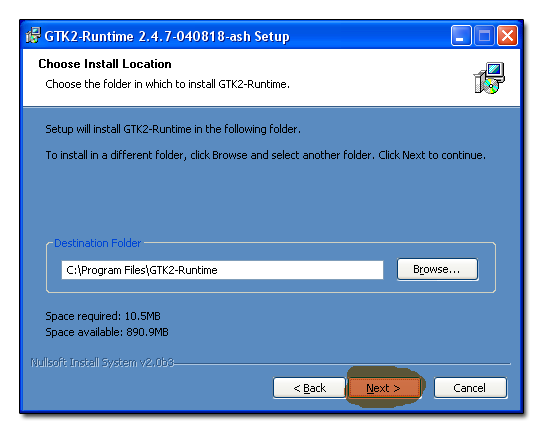
The default install path is perfect, so click “Next”
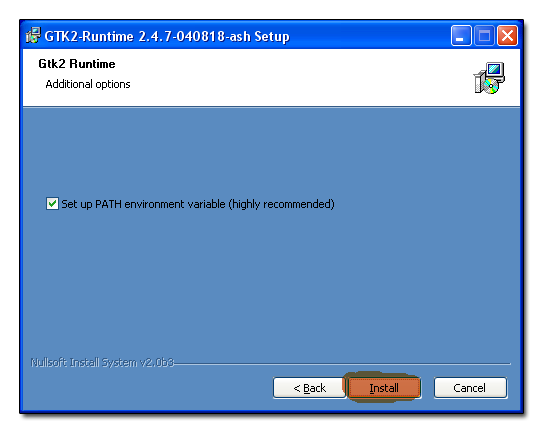
Leave the “Set up PATH” box checked, and click Install
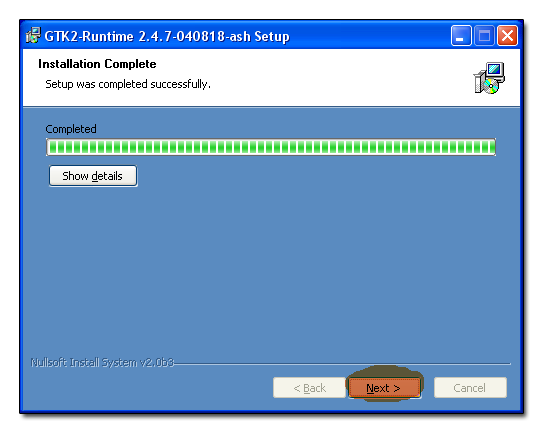
When the installer is finished copying files, the green blocks will be all the way across, and the “Next” button will become enabled. Click it.
You have completed the GTK Runtime portion of the setup.
Now double-click the hexchat-2.8.exe icon (The top one above) to begin the HEXChat portion of the install.
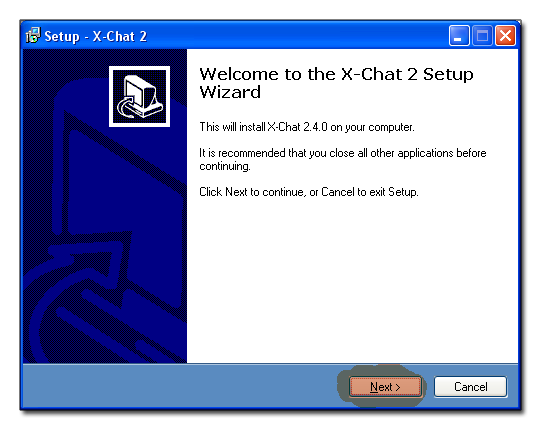
Click the “Next” button to continue
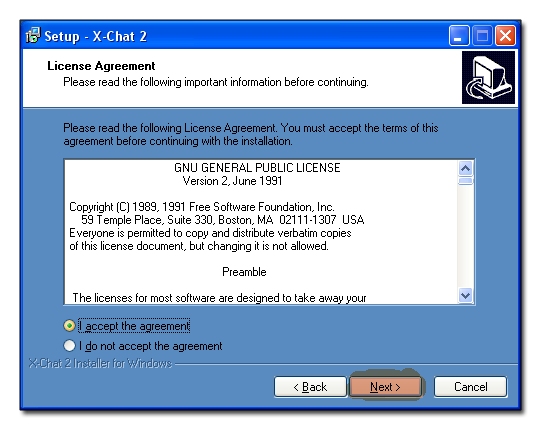
Select the “I accept the agreement” and skim the license. When your ready, click “Next.”
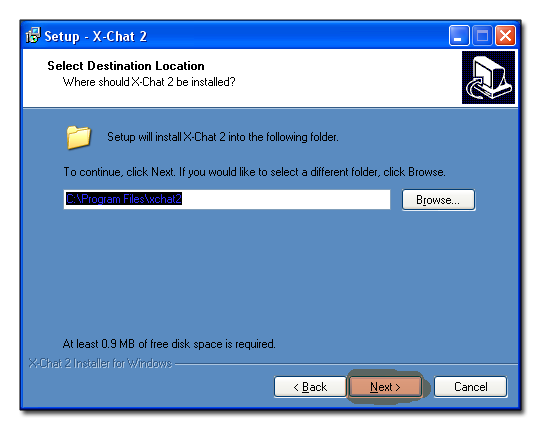
The default install path is great, so click “Next”
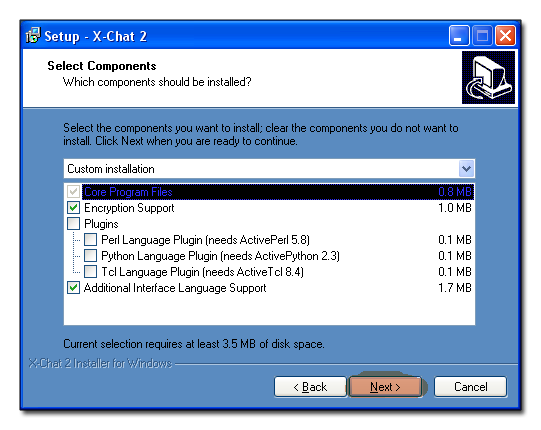
Usually the correct boxes will be checked for you already. If you are an advanced IRCer, you may wan't to install the language plugins so that you can run scripts to automate IRC tasks. You must install the appropreate language on your computer before the HEXChat install however. For now leave them unchecked and just click “Next.”
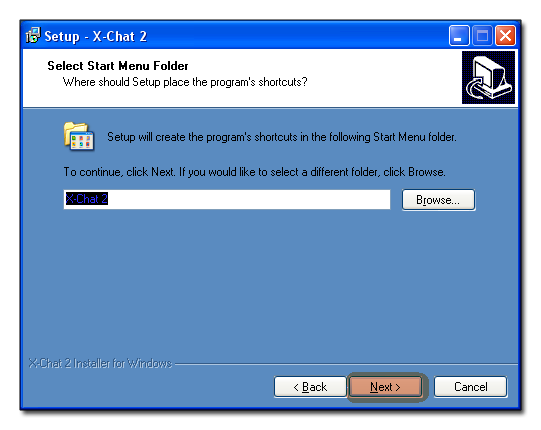
This is acceptable, so click “Next”
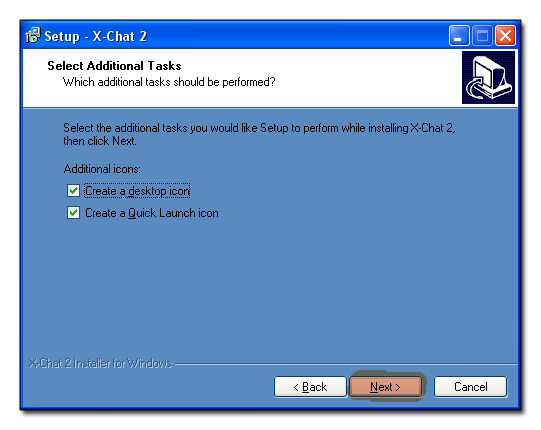
Click “Next” to install icons where you can launch HEXChat.
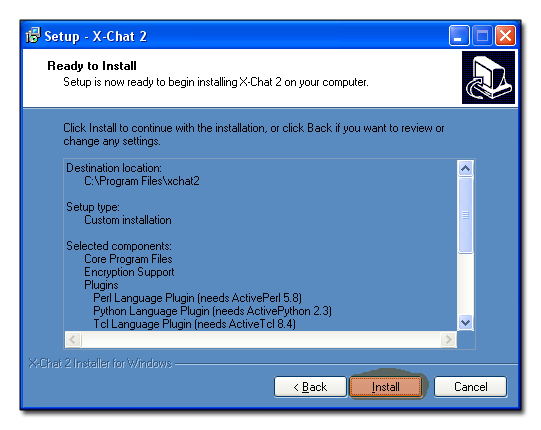
We are ready to go, so click “Next”
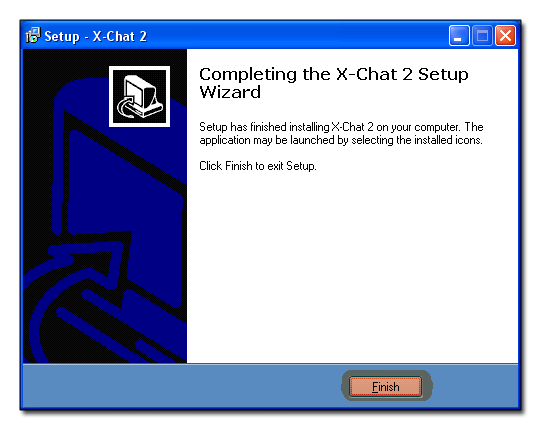
When setup is finished copying files, it will display this screen. Click “Finish.”
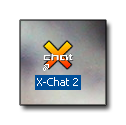
Congratulations! You now have a copy of HEXChat installed. Double click the HEXChat icon (like above) on your desktop (or quick-launch) to run it.
When HEXChat first starts, it will ask you for your info, and where to connect. Fill out your details for Nick choices, Username and Realname. NOTE: Usernames must be all lowercase. We suggest using the part of your email address before the @. For advanced users, there are more details about connecting under the “Edit” button for each network.
Next, scroll the “Networks” box up until you find AfterNET, and click “Connect”.
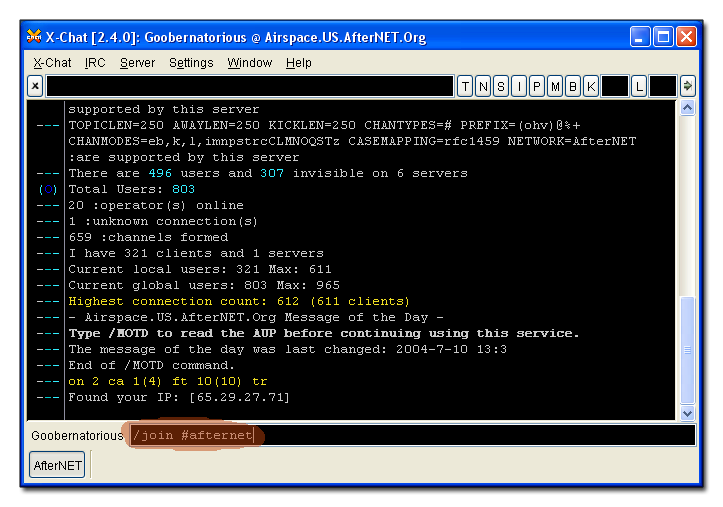
This is the server info tab for Afternet. To chat, you must first join a channel. type /join #AfterNET in the small black box, or see the “Channel list” under the Window menu for a list of available channels. Once you type /join #AfterNET, press enter, and you will see the following:
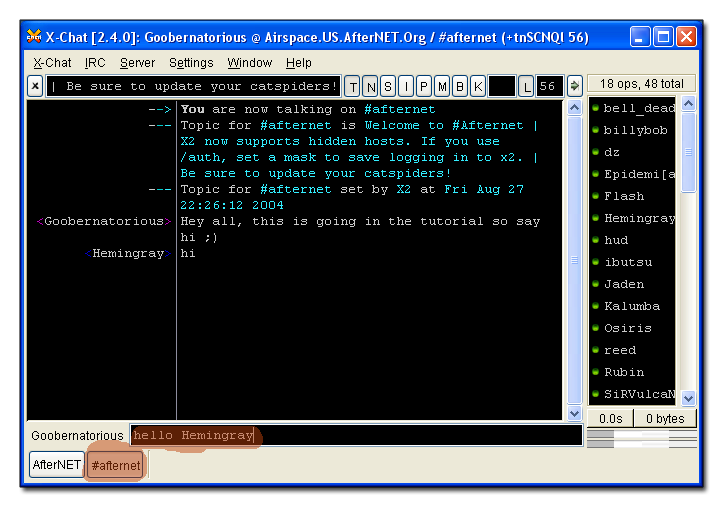
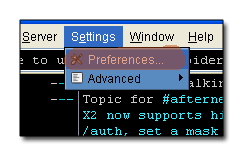
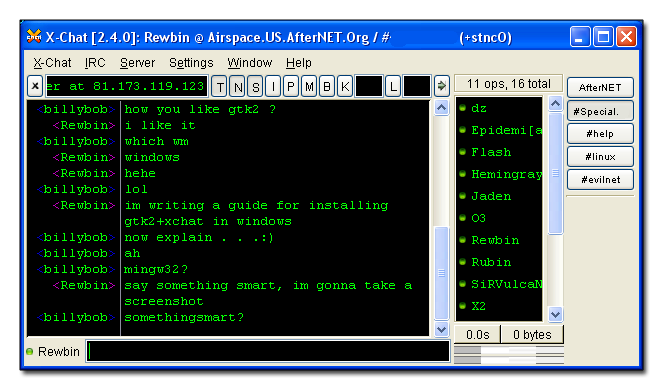
Congratulations, you are chatting! just type what you want to say in the box and press enter. The list of names on the right is who is in the channel with you. The tabs along the bottom allow you to switch between the server info, and different channels. So this is it, your done, however, I like to customize my HEXChat a little more using the preferences in the menus.
See if you can get your HEXChat to look the way I like mine (pictured below)
If you have any questions, /join #Help, or contact us using the link at the top.

